


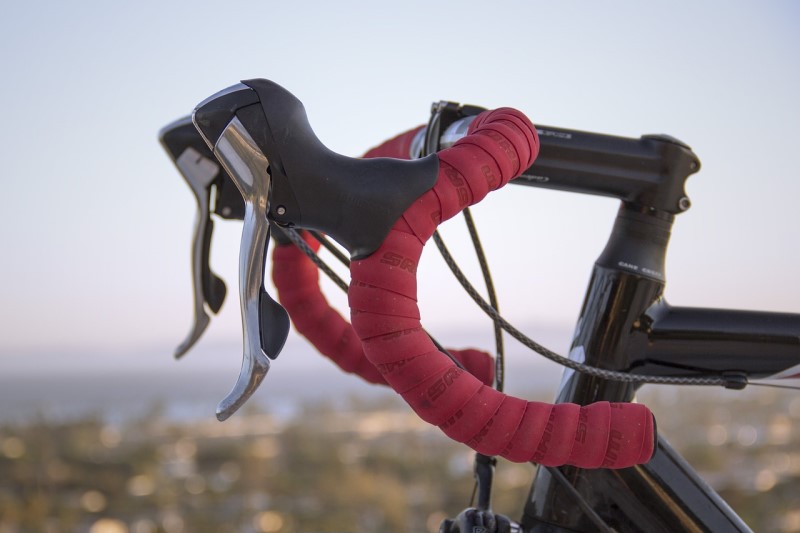
Knowing how to grip the handlebars of a road bike is essential for comfortable, efficient and safe cycling. The position of your hands directly influences your posture, weight distribution and the prevention of discomfort in your hands, wrists and back. In this guide, we will analyse the different types of grip, how to adjust your bike and cycling biomechanics tips to improve your performance and comfort.
Types of road bike handlebar grips
There are different ways to place your hands on the handlebars, each with specific advantages, disadvantages and uses depending on the situation:
1. Crossbar grip
This is arguably the most comfortable position on the handlebars, but it is not the safest, as the gears and brakes are not within easy reach. It is not recommended to adopt this position in risky situations such as when riding in a peloton, on busy roads or on winding roads.
- Advantages: Very comfortable position for resting your hands during long rides or leisurely rides.
- Disadvantages: Not the safest, as the brakes and gears are out of reach.
- When to use it: Ideal for gentle training sessions or controlled descents on open roads without heavy traffic.
- Recommendation: Avoid this position in pelotons, on winding roads or in areas with heavy traffic.
This type of grip allows your hands and wrists to rest, but it is important to alternate it with other positions so as not to overload your forearms.
2. Lever grip
This is the most common position and the one we will generally use the most on a road bike. It is a type of grip that allows us to be in a comfortable position, given the shape of the levers, which are ergonomically designed so that our hand is rested, distributing the weight across the palm of the hand. In addition, we will have the bike’s brakes within reach at all times.
- Advantages: Most common position for routes and training.
- Safety: The brakes and gears are always within reach.
- Comfort: Ergonomic shape that distributes weight across the palm of the hand, reducing fatigue and numbness.
- When to use it: During long routes, steady-paced rides and outings where bike control is key.
Practical tip: Adjust the position of the levers according to the width of your hands to avoid excessive pressure on the ulnar nerve and minimise tingling.
3. Curved handlebar grip
With this type of grip, we will raise our hands to the top of the handlebars, allowing us to easily reach the brakes and avoid feeling unsafe. We will use this type of grip when we want to ride at high intensity or lower our body a little to avoid headwinds.
- Advantages: Allows you to lower your torso and reduce wind resistance, increasing efficiency on fast routes or time trials.
- Safety: Accessible brakes, which provides confidence on descents and bends.
- When to use it: Ideal for high-intensity riding, technical descents or when you want to improve aerodynamics.
Biomechanics tip: Keeping your elbows slightly bent helps absorb vibrations and reduces the load on your shoulders and neck.
4. Sprint or climb grip
In this position, we will grip the handlebars in the position closest to the saddle. This position is normally used when standing up on a climb or when sprinting, as these are situations where we are not concerned about having the brakes within reach.
- Advantages: Maximises power transfer to the pedals.
- Disadvantages: Does not prioritise quick access to brakes and gears, so safety must be taken into account.
- When to use it: Steep climbs or final sprints where strength is a priority.
Tip: Alternate this position with safer grips during the ride to avoid overloading your wrists and shoulders.
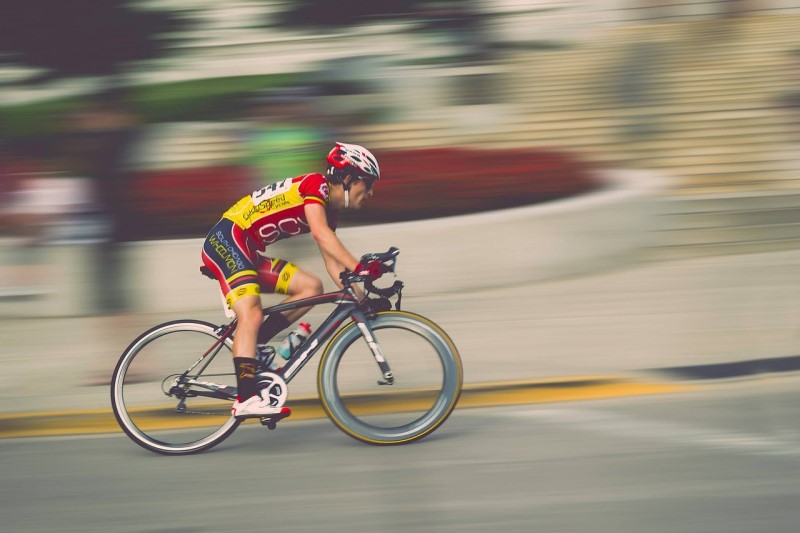
Correct hand position on the handlebars
Distance between handlebars and saddle
An incorrect distance between the saddle and handlebars can cause muscle pain and premature fatigue. To adjust correctly:
- Measurement: When seated on the bicycle, your elbow should form an angle of approximately 20-30º when holding the handlebars.
- Gradual adjustment: Move the handlebars forwards or backwards in increments of 0.5 cm until you find a comfortable position.
- Regular review: Changes to the saddle, handlebars or posture require readjustment.
Saddle position and pressure relief on the hands
- The saddle should be adjusted to a level position to prevent weight from being concentrated on the hands and wrists.
- Leaning forward increases pressure on the hands and reduces comfort on long rides.
- Adjusting the height correctly allows you to keep your legs slightly bent when pedalling, optimising efficiency and reducing fatigue in the lower back.
Ergonomics tip: A well-adjusted saddle combined with alternate grips on the handlebars significantly reduces the onset of numbness in the hands and forearms.
Preventing discomfort and injuries in road cycling
Even with the correct grip and adjustment, discomfort can arise if certain factors are not taken into account:
- Numbness in the hands: Check the position of the handlebars, levers and saddle. Alternate grip positions during the ride.
- Wrist pain: Avoid excessive wrist flexion; use padded gloves and ergonomic grips.
- Shoulder and back fatigue: Keep your elbows bent, shoulders relaxed and your torso slightly inclined.
Recommended exercises: Stretch your wrists, forearms and shoulders before and after your ride. Strengthen with elastic bands to improve muscle support.
Biomechanics applied to handlebar grip
The position of the hands influences:
- Weight distribution: Helps reduce pressure on the hands and wrists.
- Pedalling efficiency: Correct posture allows for better power transfer.
- Aerodynamics: Gripping the curve of the handlebars reduces wind resistance on fast routes.
- Safety: Keeping brakes and gears accessible reduces risks on descents or bends.
A study of cycling ergonomics indicates that alternating grip positions improves comfort, reduces fatigue and allows for longer rides without discomfort.
Final practical tips for cyclists
- Alternate different grips to avoid overload.
- Adjust the saddle and handlebars according to your height and flexibility.
- Use ergonomic gloves and grips to improve comfort and grip.
- Check your elbow, shoulder and back posture regularly.
- Listen to your body: persistent discomfort may indicate the need for adjustment or professional intervention.
Conclusion
Learning how to grip the handlebars of a road bike and adjust your bike correctly is essential for comfortable, efficient and safe cycling. Small adjustments to the saddle, the distance between the handlebars and saddle, and choosing the right grip can make the difference between an enjoyable ride and a painful one. The biomechanics of cycling applied to hand position will help you prevent injuries and improve your performance.